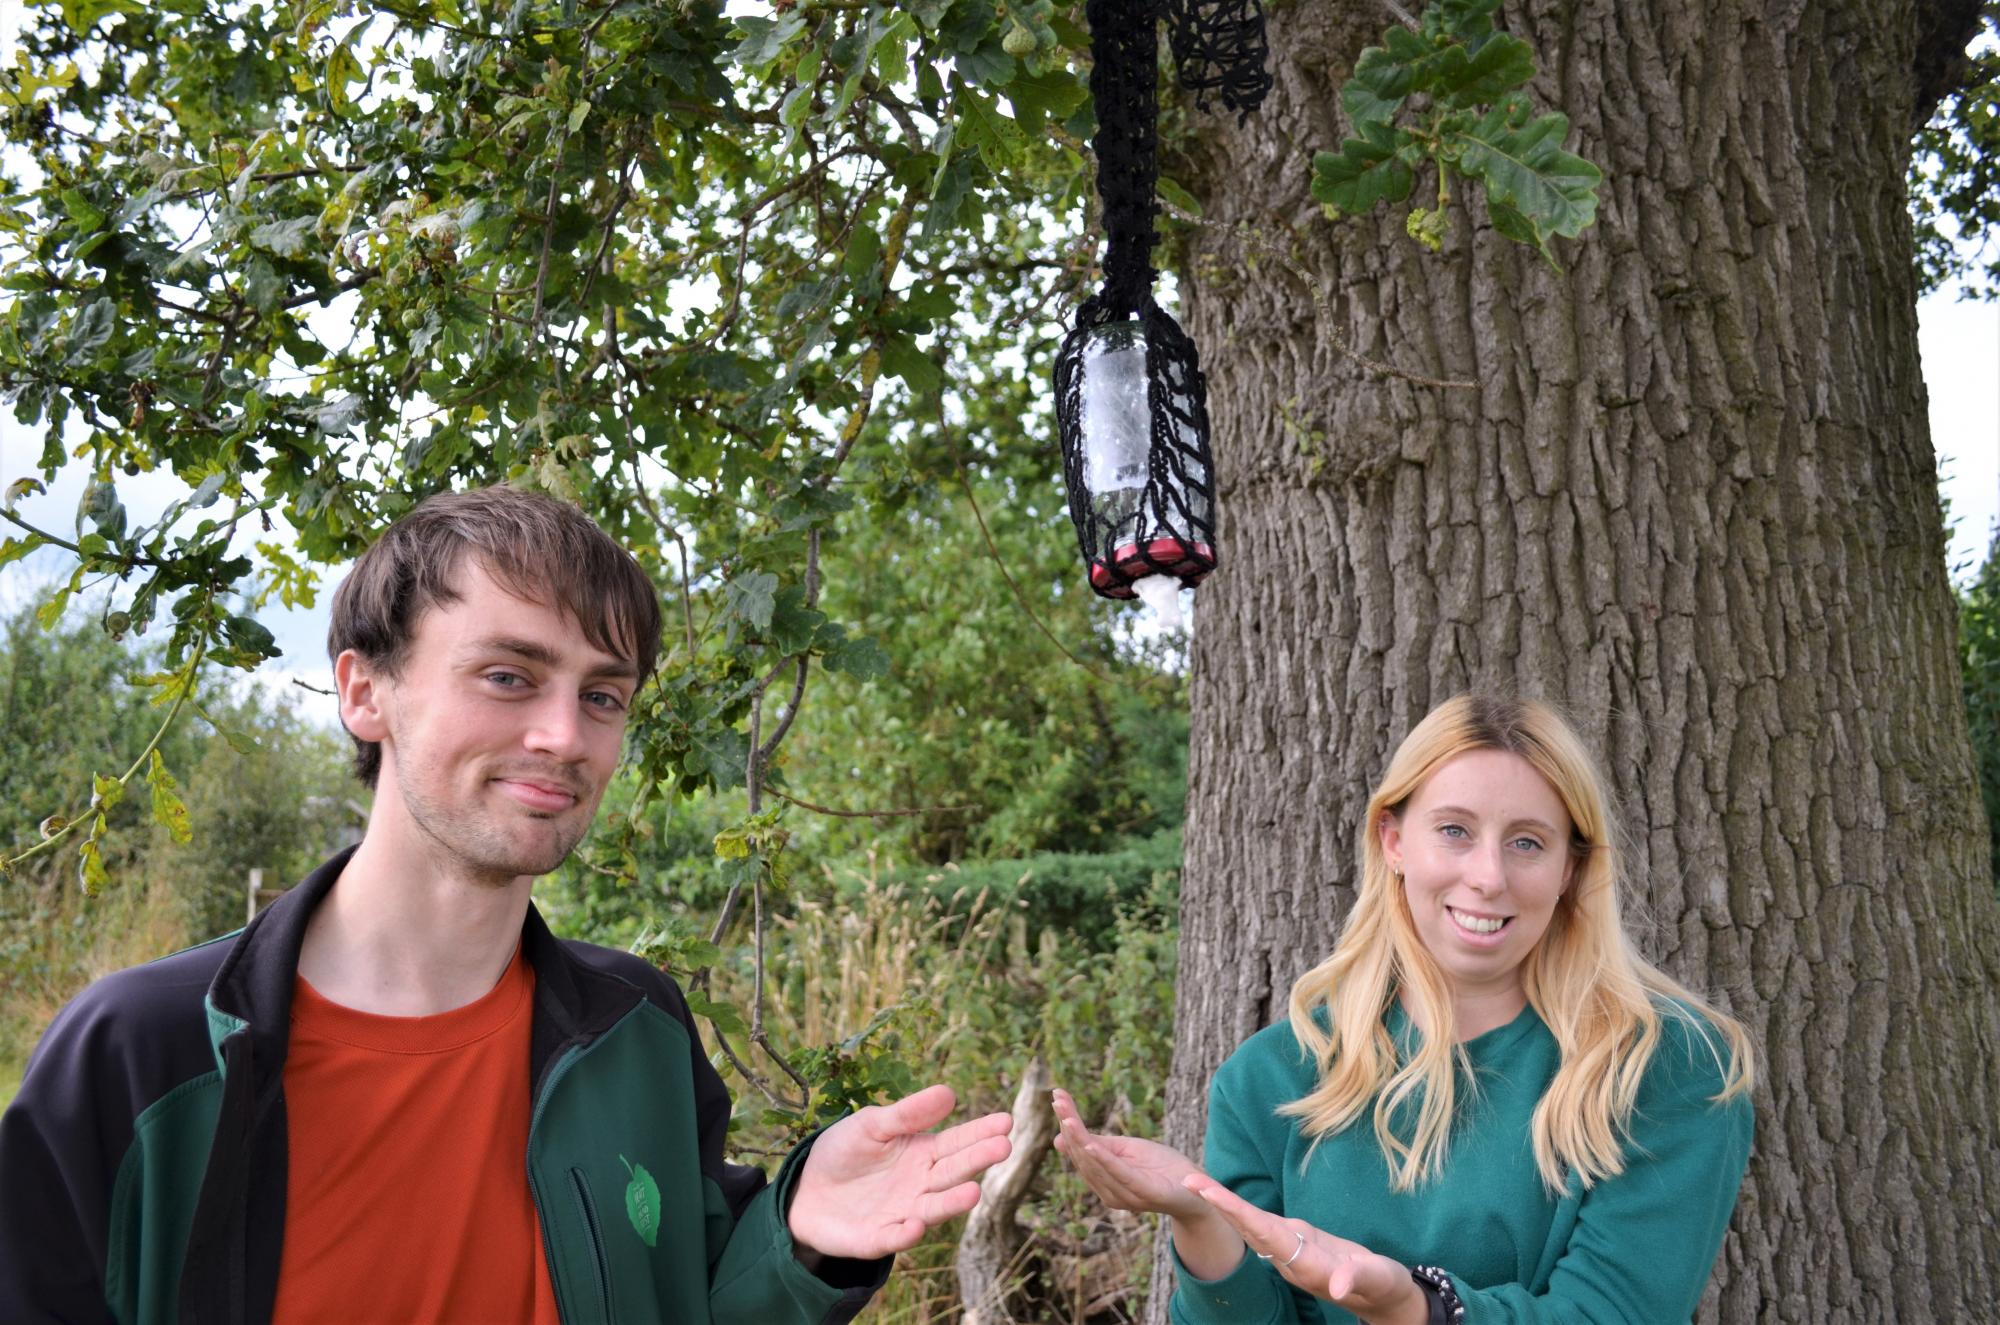
How to make a butterfly feeder
The summer holidays are a great time to get kids outside and excited about wildlife. Making butterfly feeders for your garden is not only a great way to spend time as a family but also provides a reliable food source for your local butterflies and encourages them to visit and pollinate your garden.
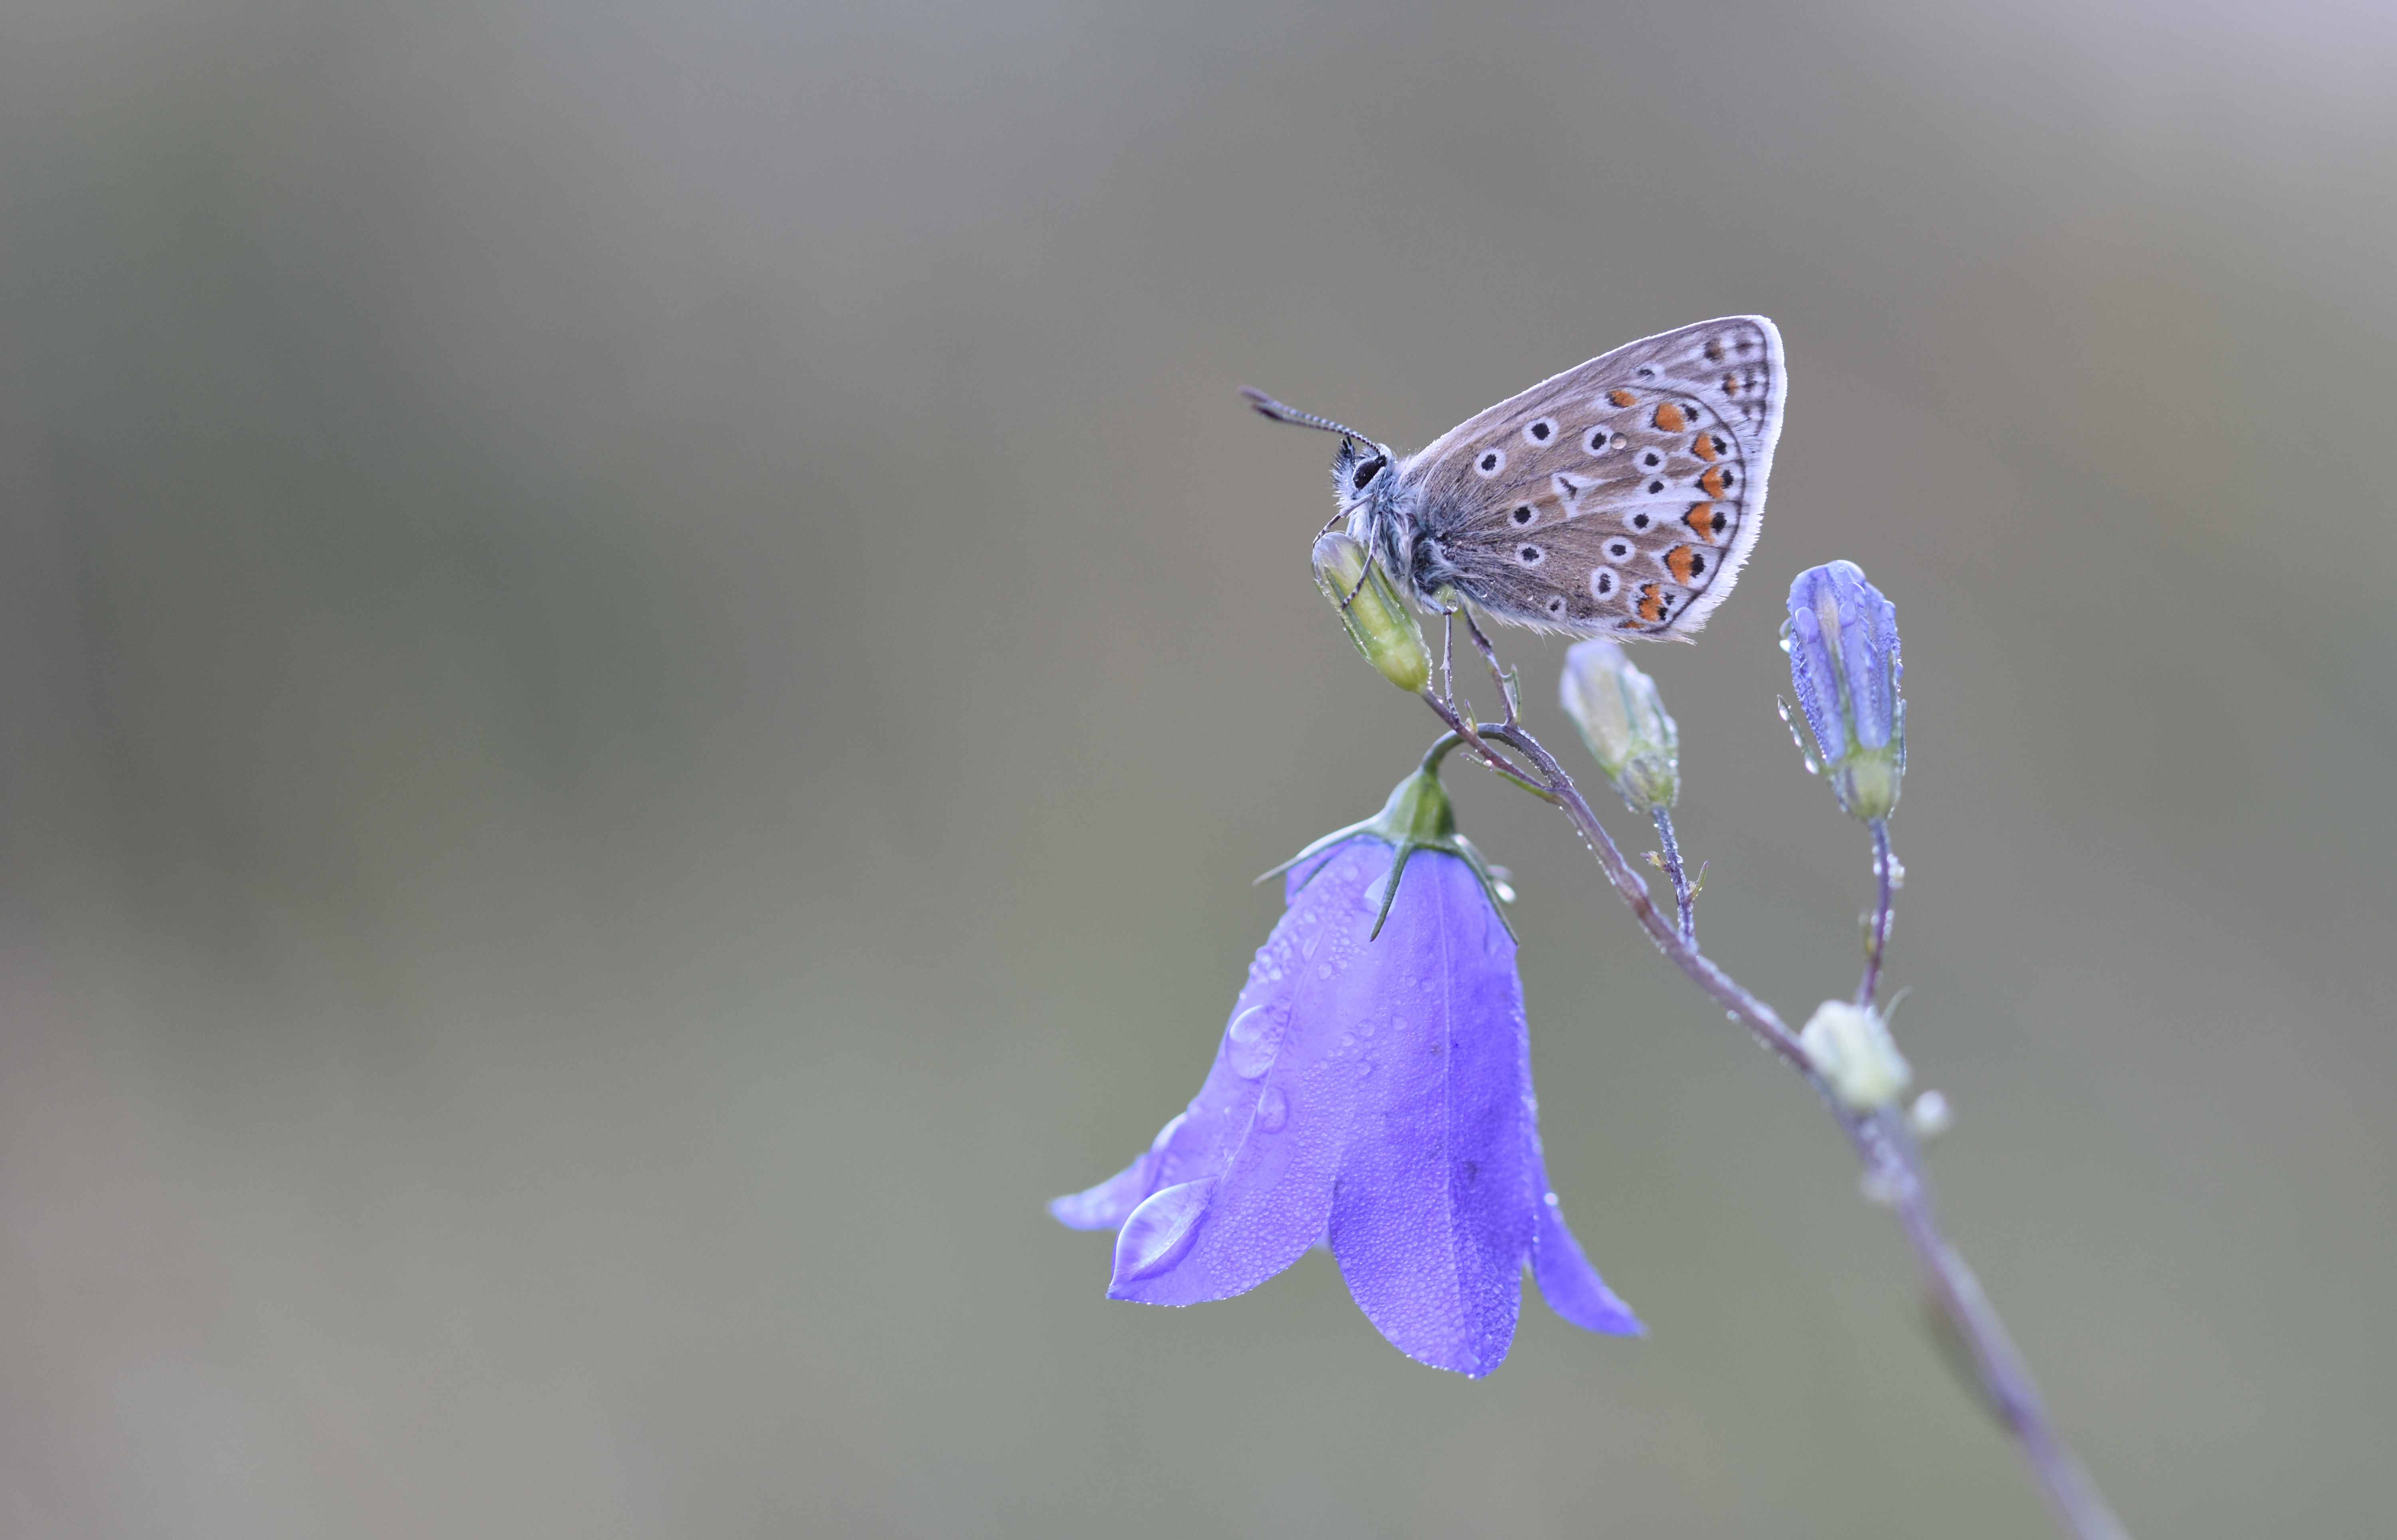
The importance of butterflies
Butterflies are incredibly important part of our ecosystem. They have been around for at least 50 million years and probably first evolved around 150 million years ago – they are part of our earth’s history!
One of their most important roles within our environment is that they are pollinators. This means that they when they feed on the nectar from flowers, they pick up pollen and spread it to other areas. This spreads the flower seeds and allows them to spread and grow in other areas.
Butterflies are important for conservation as they are an indicator species. This means that they react to their environment very quickly and can show signs of changes before any other signs become clear. When they are happily living in an area it is a clear sign of a healthy ecosystem and can also indicate that a wide range of other invertebrates are also surviving in those areas. They are also what is called a ‘model’ species meaning they can be really helpful for important biological research like investigating evolution and conservation.
Because of their position within the food chain, butterflies are an important food source for their predators like birds of prey and bats.
Sadly, like many animals within our ecosystem, butterflies are in decline thanks to climate change – four butterfly species have become extinct over the last 150 years and three quarters of British butterfly species are in decline. Helping to conserve butterflies will improve our whole environment for wildlife and enrich the lives of people now and in the future!
Making your butterfly feeders
Why not encourage butterfly species to your gardens by making your very own butterfly feeders? There are two ways we recommend doing this – using a sponge which is the slightly easier option or using a jar and a fake flower which is a little bit more complicated.
Our Learning and Skills intern Ellie and Biodiversity Data and Survey Officer Sam had a go at making bird feeders for themselves, why not watch along with the video as you make yours at home?
Sponge butterfly feeder
What you will need:
- Sponges
- 1 cup of water
- 1/4 cup of granulated sugar
- Twine or string
Instructions:
1. Make sure to get a responsible adult to help you with this step - in a small saucepan, bring your cup of water to the boil, stir in the sugar and simmer until it has dissolved.
2. Remove the pan from the heat and let the syrup mixture cool completely. This may take an hour or two.
3. While the syrup mixture is cooling, cut your sponges into four rectangles.
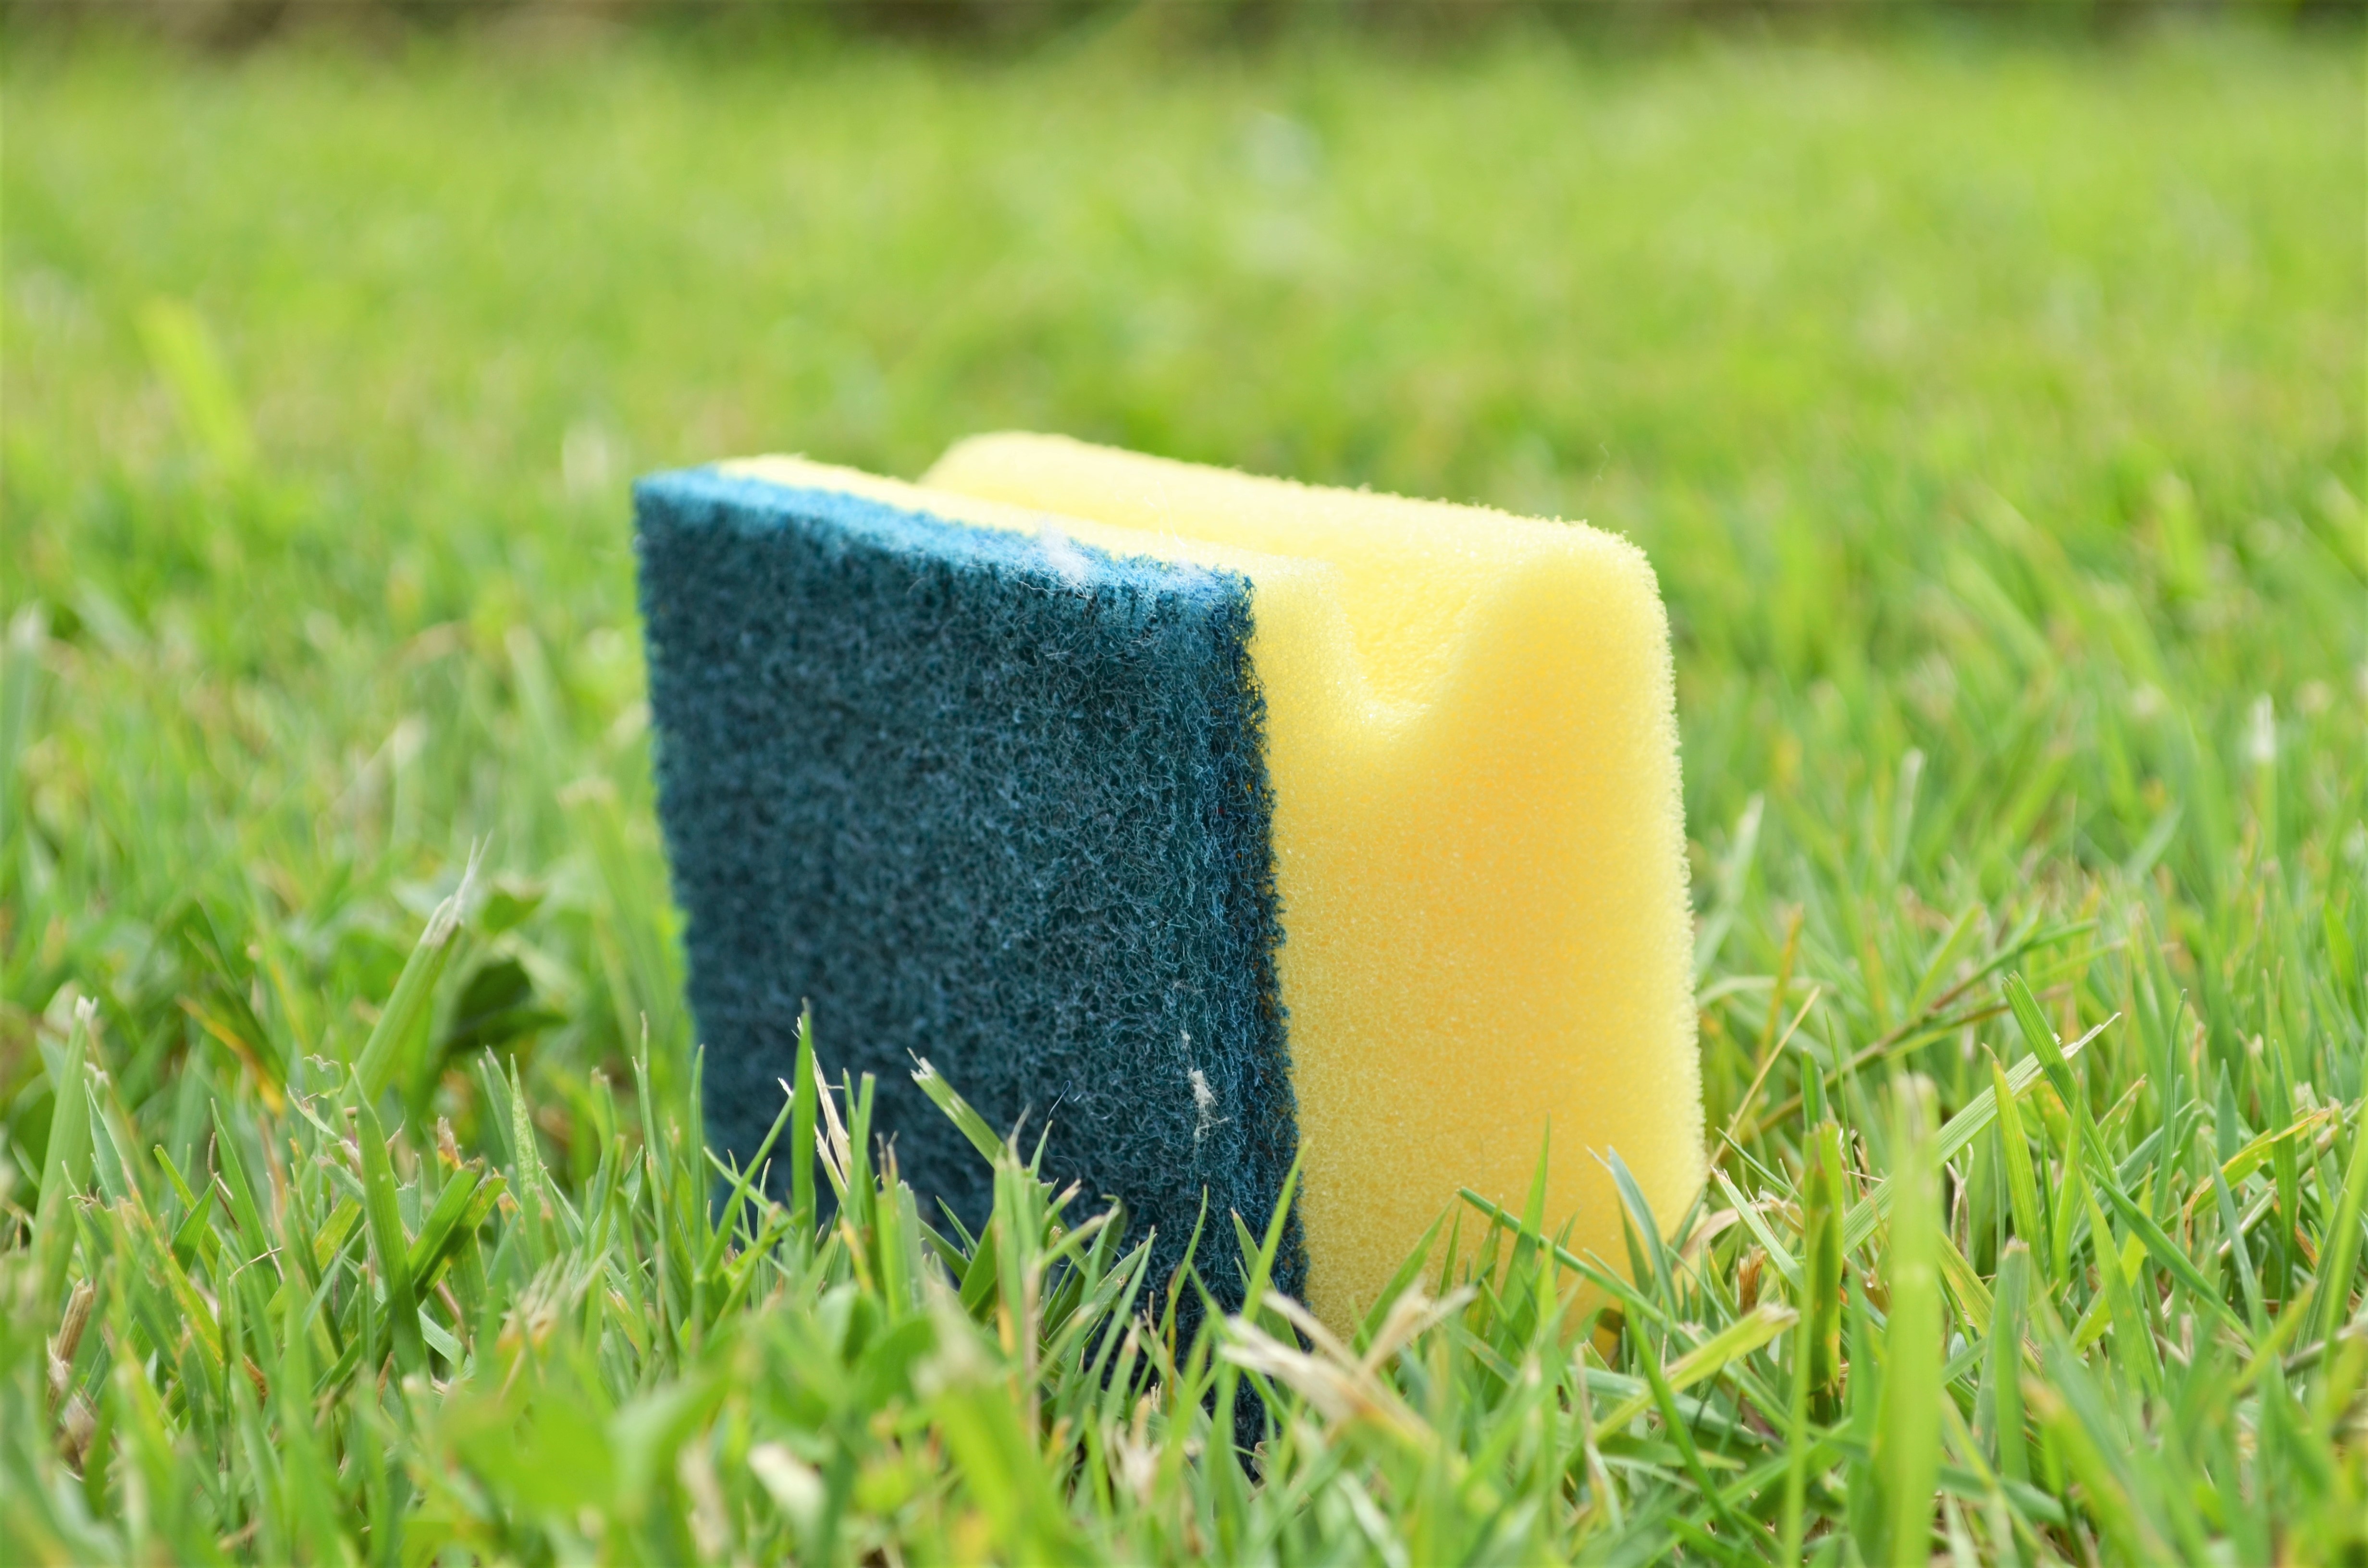
4. Cut or poke a hole in each sponge.
5. Cut 8” of string – just enough to tie your sponge around a tree branch or wherever you want to hang it in your garden.
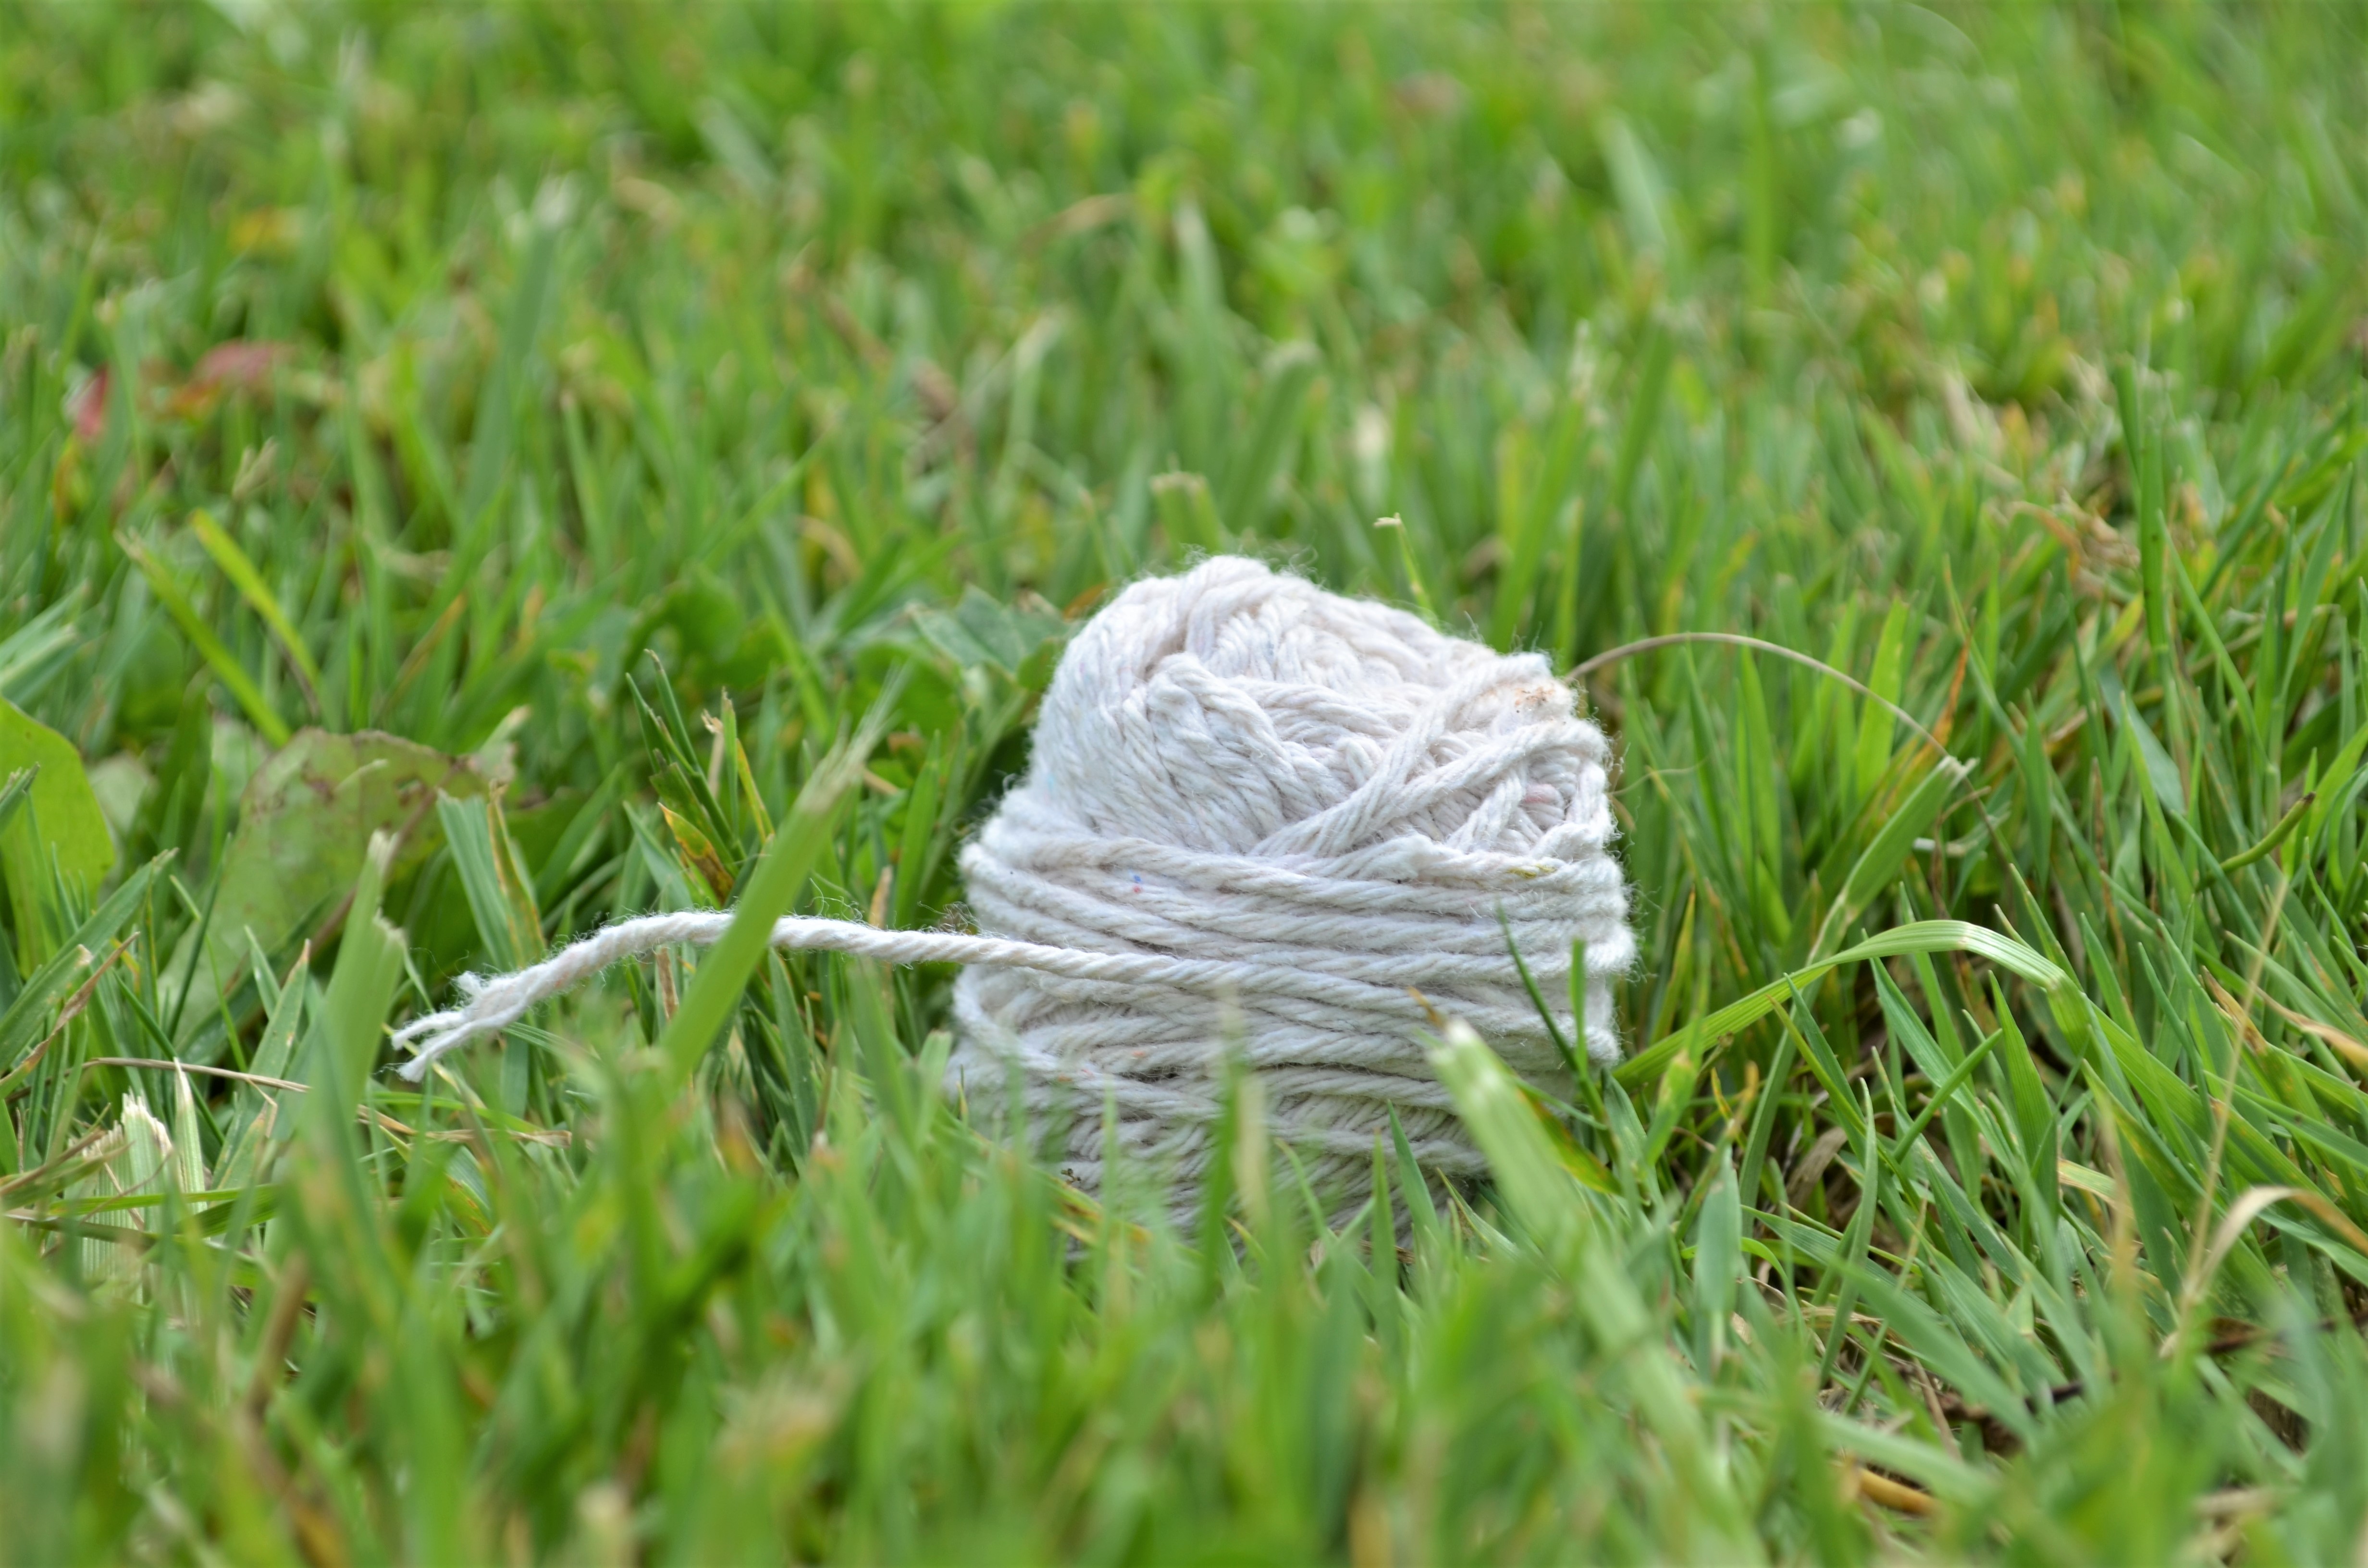
6. Thread one piece of string through each of the holes you made in your sponges.
7. Soak the sponges in the syrup mixture.
8. Hang your syrup-filled sponges in your garden and watch the butterflies flock to these sweet treats.
Download step-by-step instructions here:
How to make a jar butterfly feeder
What you will need:
- A used glass jar – an old jam jar or mason jar is perfect!
- Garden twine
- A fake flower made out of colourful paper
- 1 cup of water
- 1/4 cup of granulated sugar
- Nails
- A hammer
- Some cotton pads
- Glue
Instructions:
1. Make sure to get a responsible adult to help you with this step - in a small saucepan, bring your cup of water to the boil, stir in the sugar and simmer until it has dissolved.
2. Remove the pan from the heat and let the syrup mixture cool completely. This may take an hour or two.
3. While the syrup mixture is cooling, you can put your jar together.
4. Make sure to get a responsible adult to help you with this step – take the lid off your jam jar and use the hammer and a nail to make a hole in the lid.
5. Soak your cotton pad in the syrup mixture and push the pad through the hole in the lid using the end of a pen.
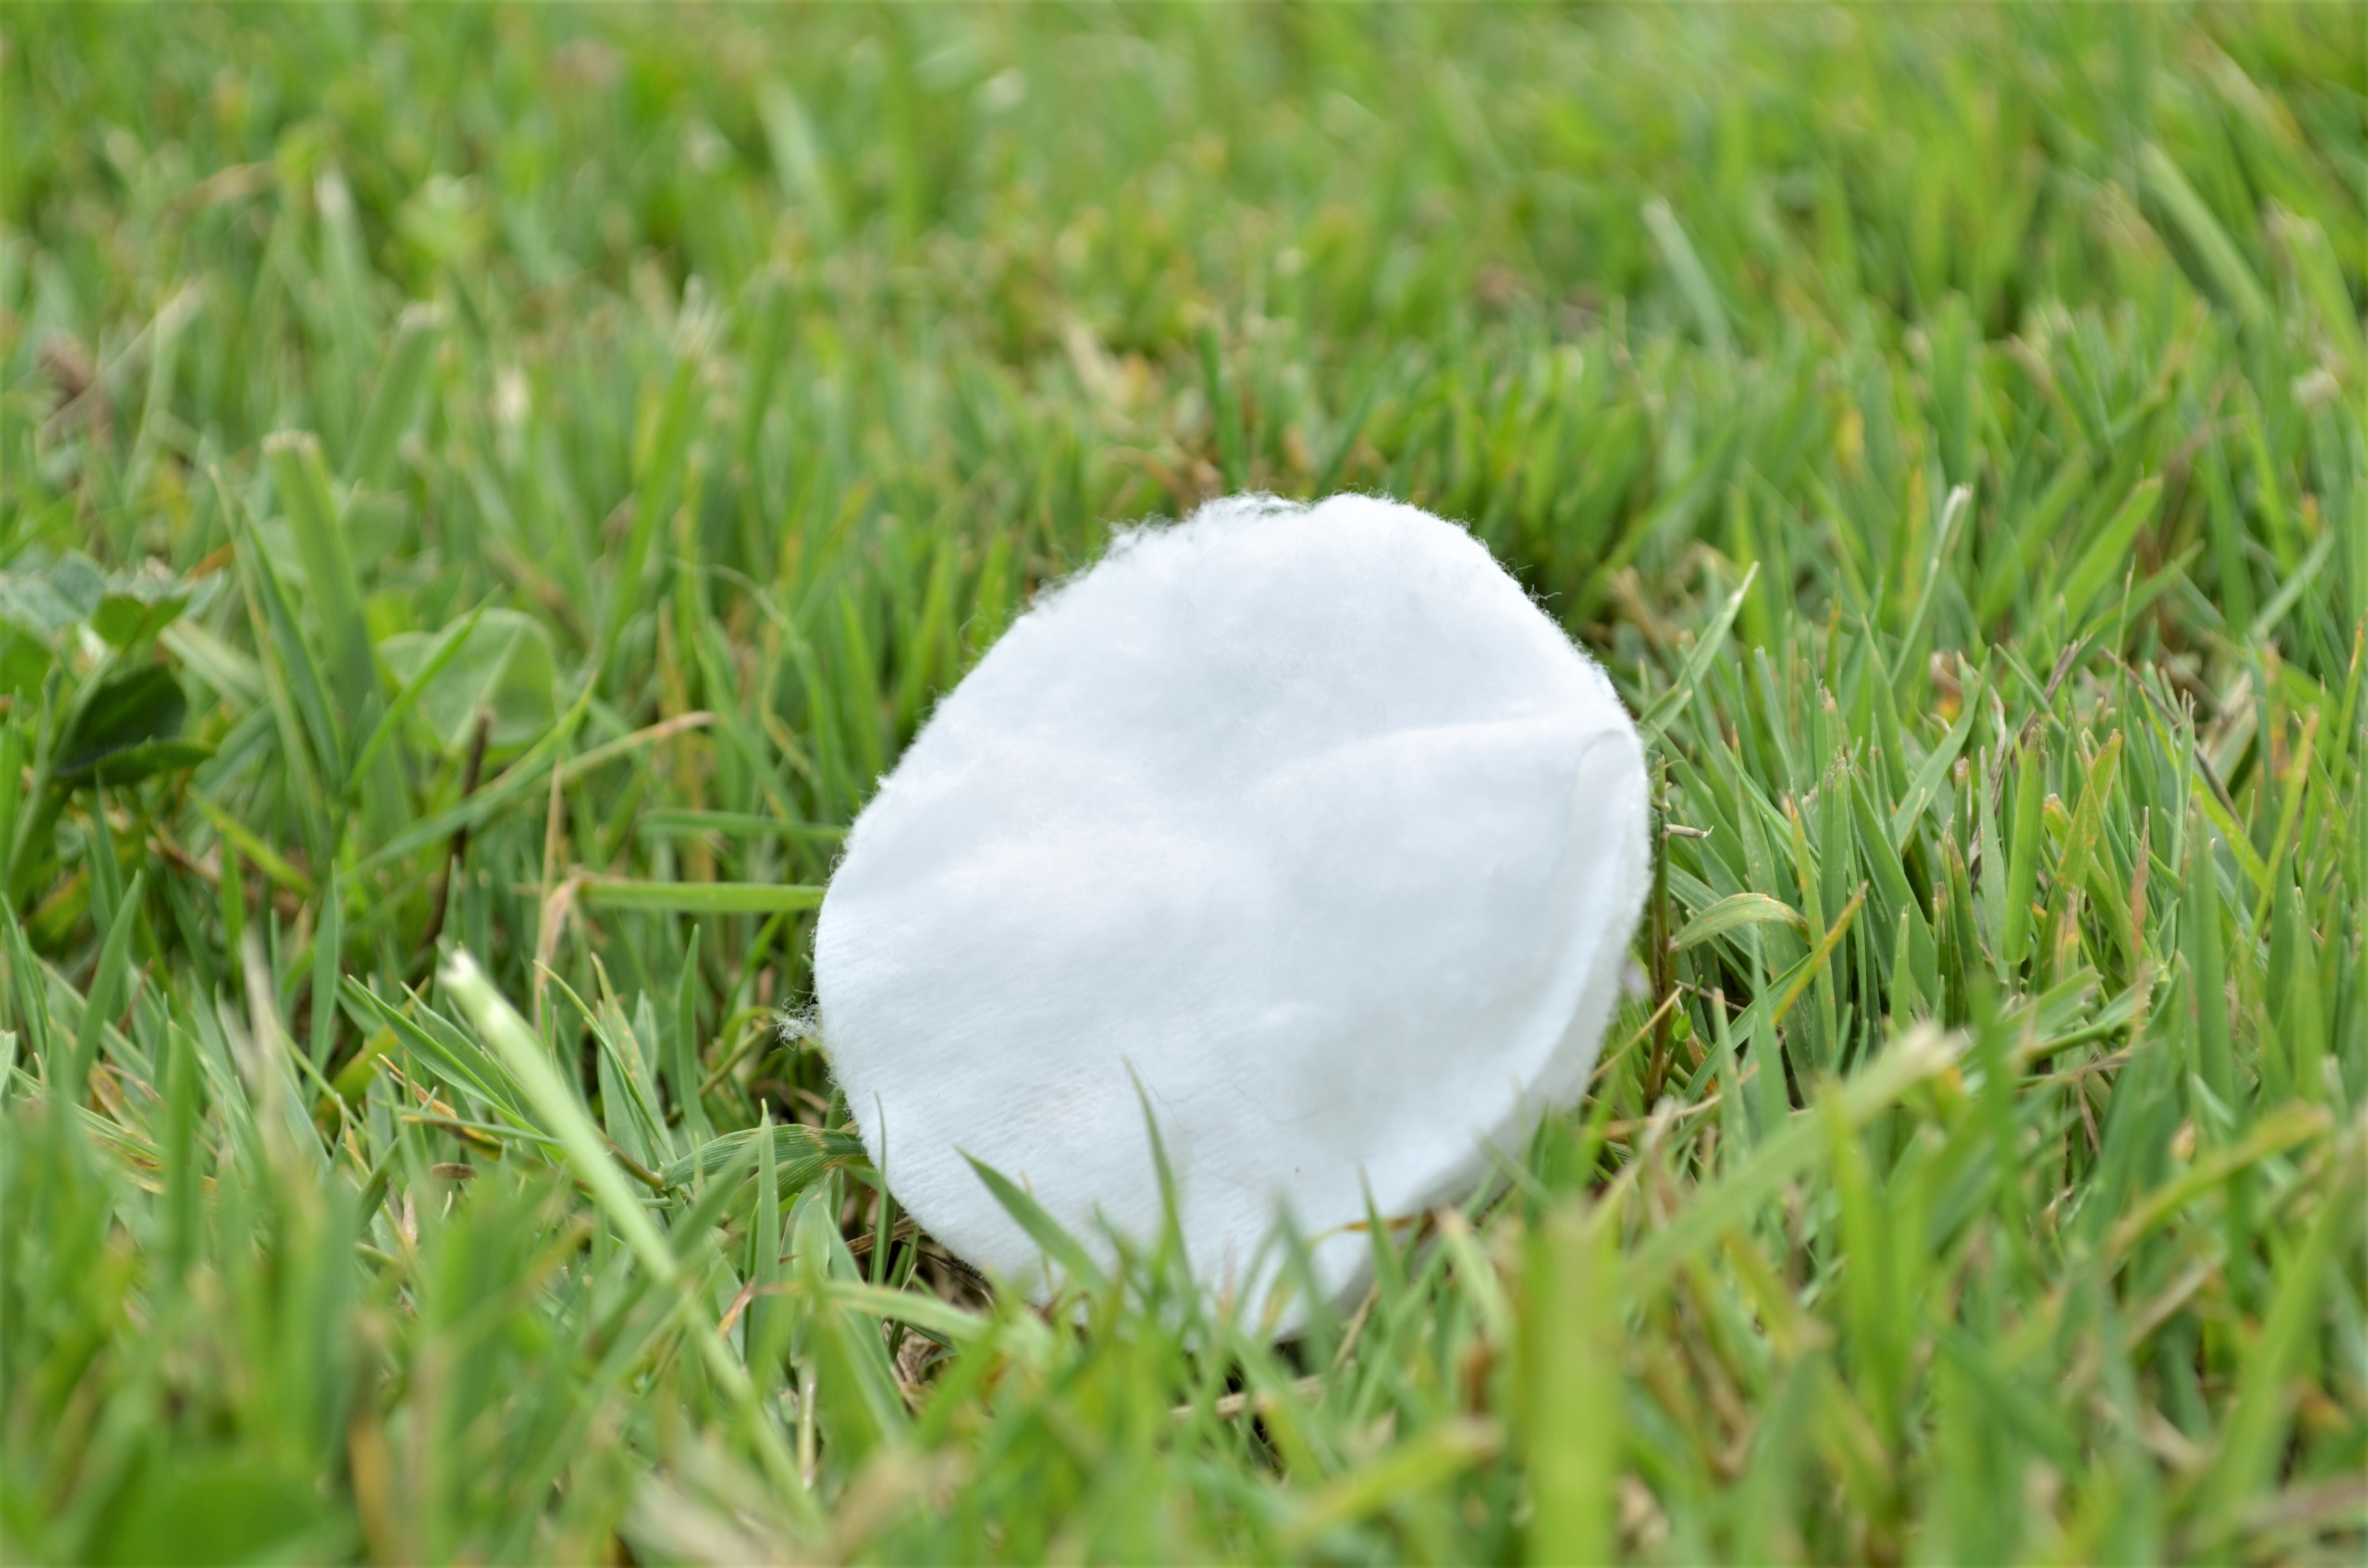
6. Screw the lid back onto the jar.
7. Make an origami flower out of colourful paper or use a fake flower.
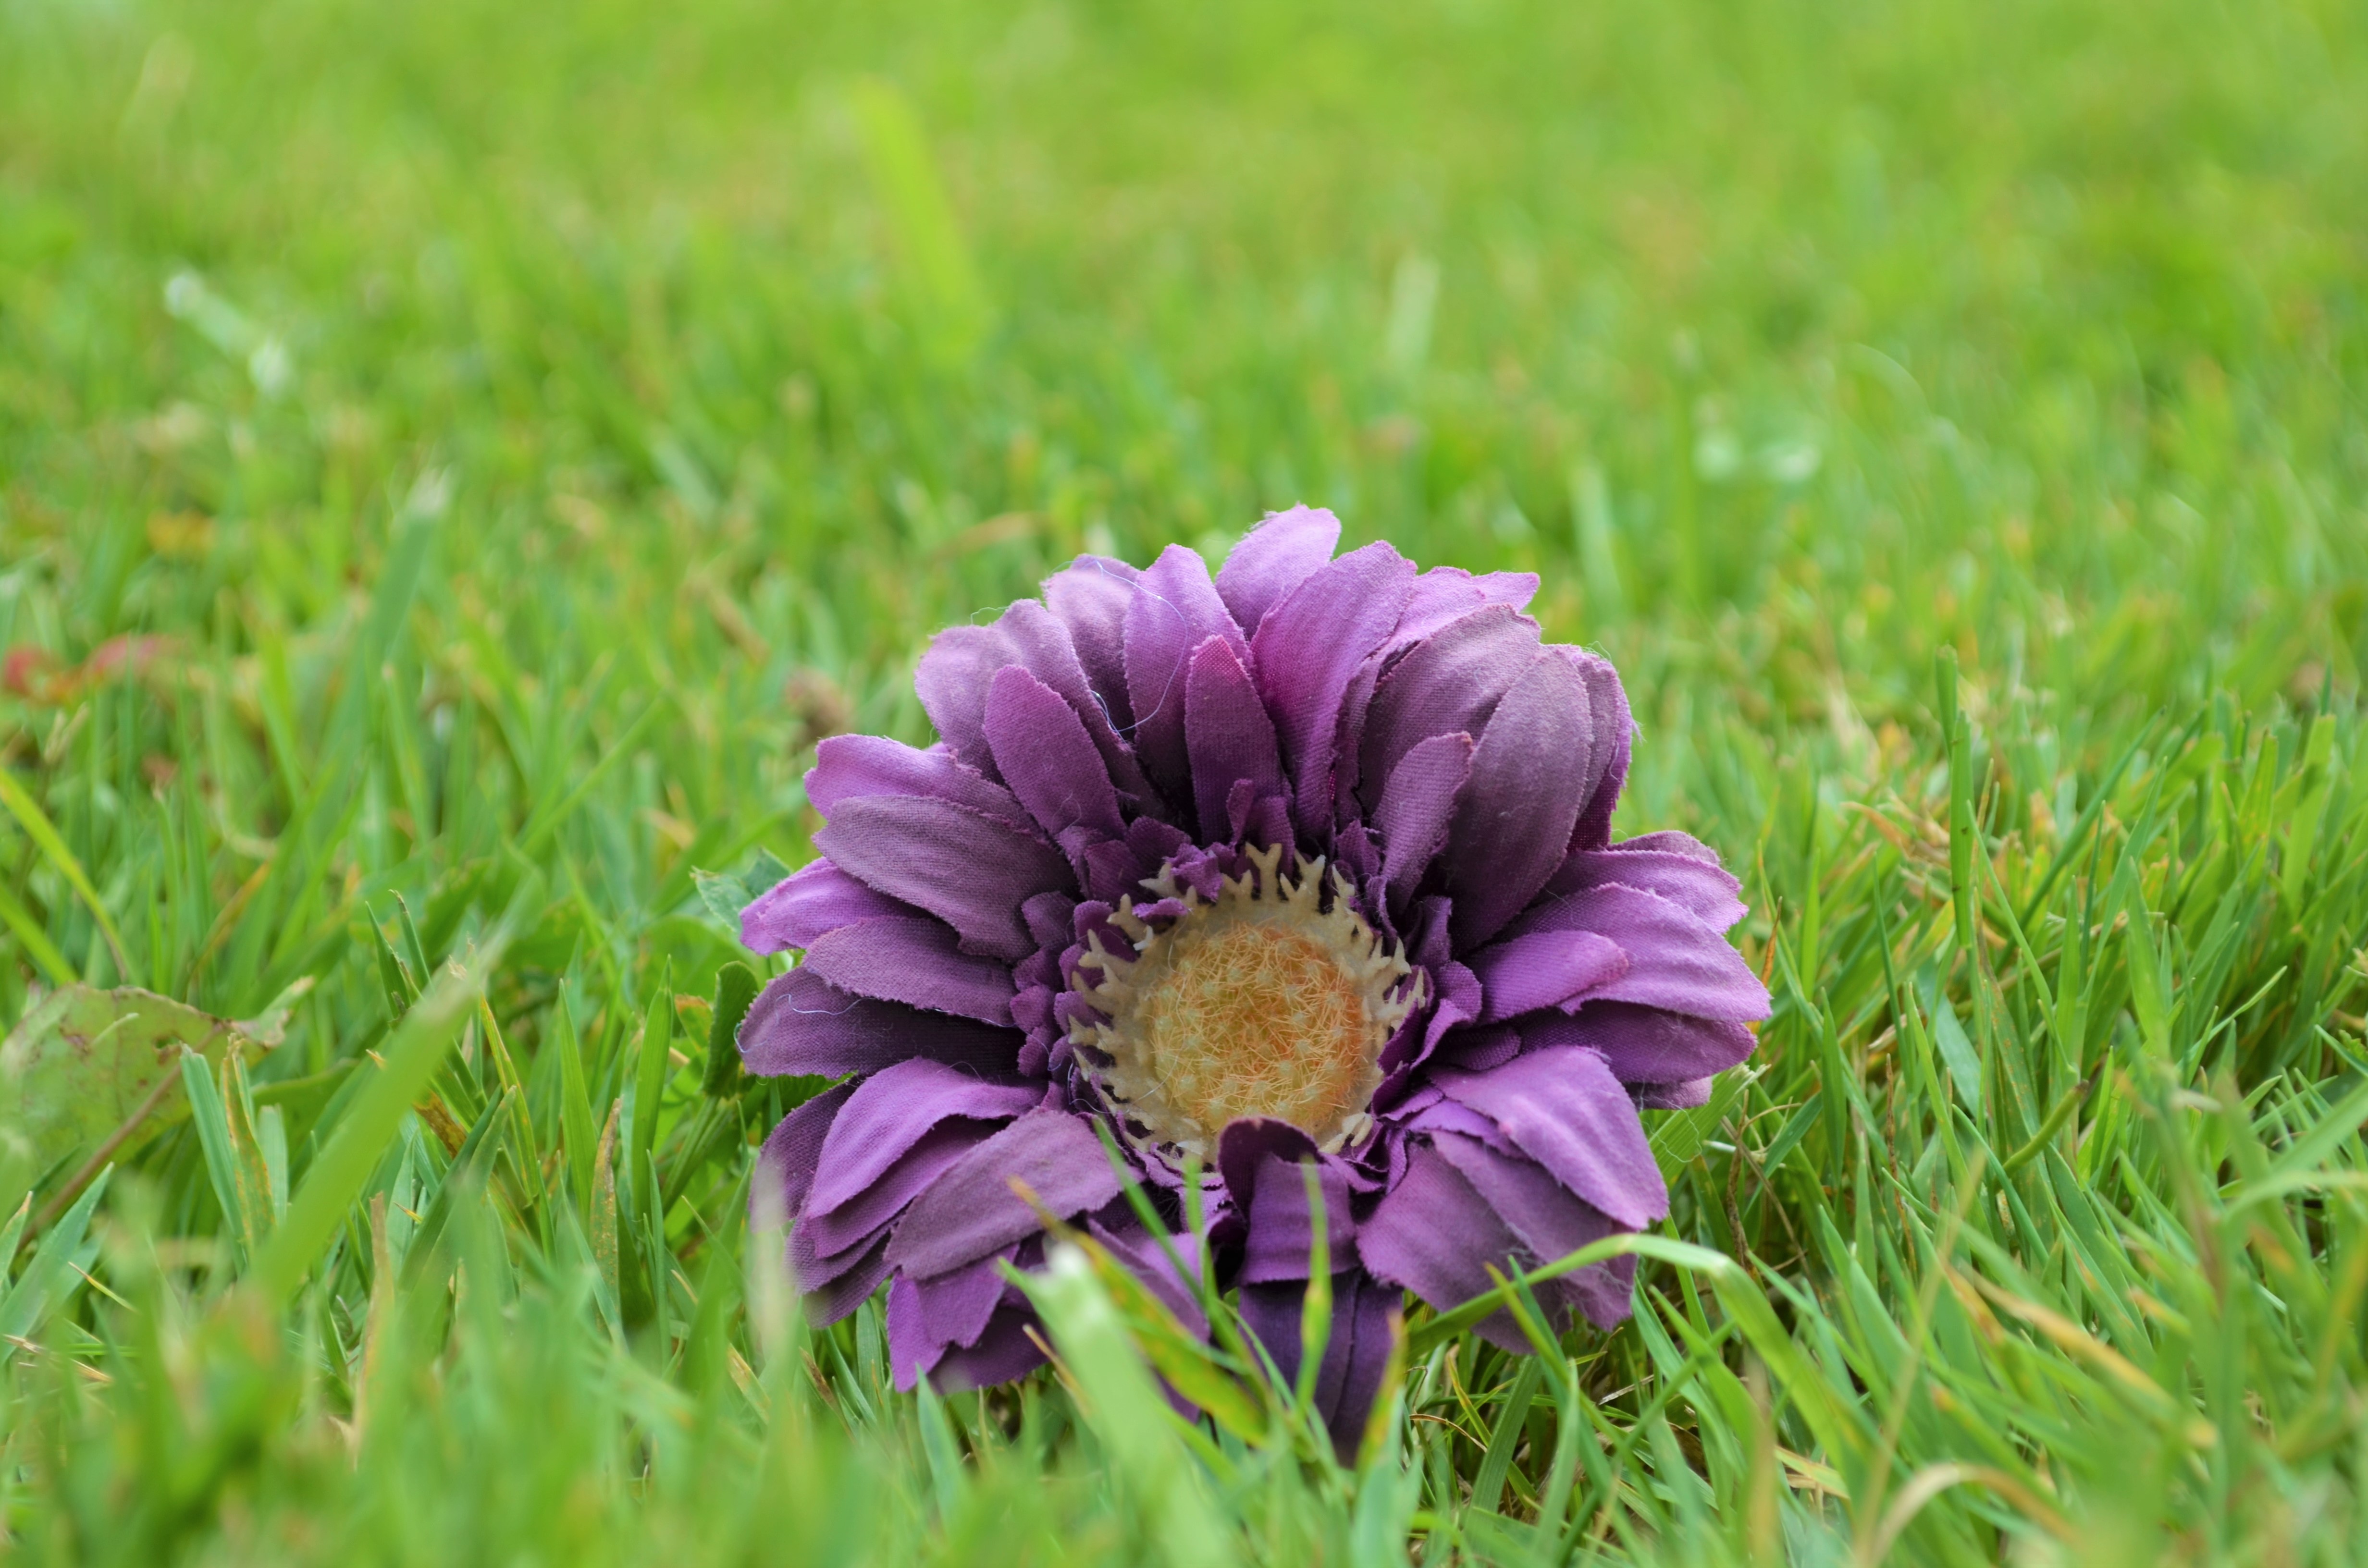
8. Stick this to the outside of the jam jar using glue.
9. Tie your garden twine around your jar and hang it to a tree branch in your garden and watch the butterflies flock to these sweet treats.
Download step-by-step instructions here:
More nature activities for kids
Subscribe to our YouTube channel for more fun activities for kids and check out the other nature activities being added to our website over the summer holidays, from making seed bombs for your garden to going wildflower spotting on your Forest walks.

