Autumn nature activities for kids
October half term is a great opportunity to do some autumn nature activities with the kids. Whether making spooky bat bookmarks, an autumnal wreath or going fungi spotting, these fun activities are a great way to make the most of the school holiday with the whole family.
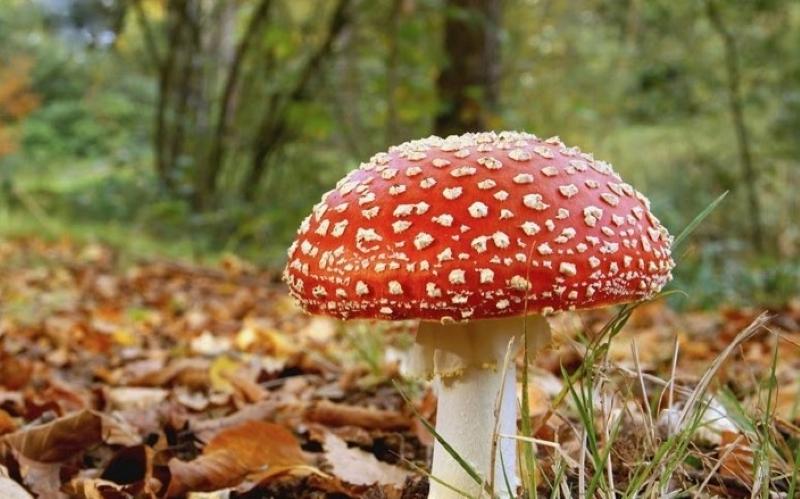
Go fungi spotting
Go for a walk in woodland or grassland and see how many different colours of the rainbow you can spot in the fungi or mushrooms.
In particular, waxcap fungi are well-known for their vibrant and shiny colours and can be found in grazed grasslands. Look out for shiny green parrot waxcaps, vivid red scarlet waxcaps, the pink ballerina waxcap, golden waxcaps or snowy waxcaps.
Why not take a sketchpad out on a walk and draw a picture of any fungi you spot? When you get home notice how different and diverse they can be.
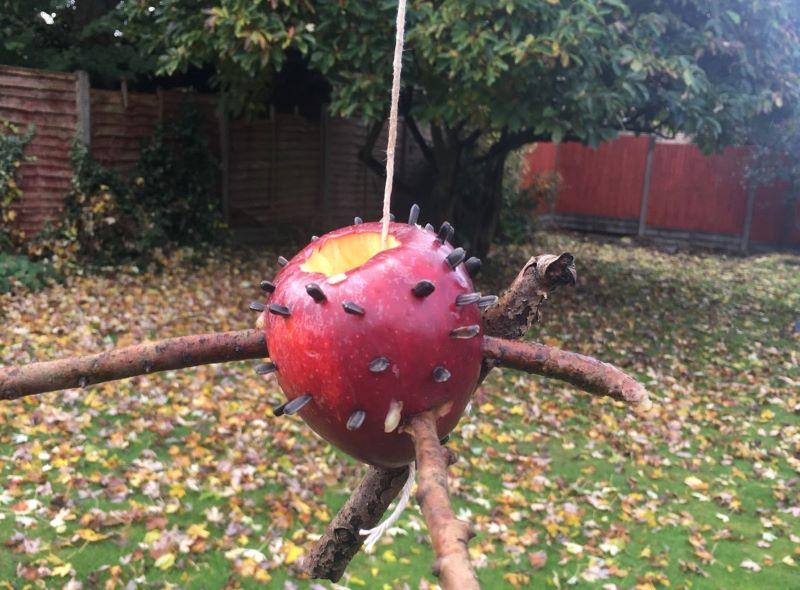
Make an apple bird feeder
You will need: An apple, an apple corer, sunflower seeds, three thin sticks, string
Instructions:
- Ask an adult to help you remove the core with an apple corer.
- Push the sunflower seeds into the apple for the birds to eat.
- Make a perch for the birds by pushing a stick into either end of the bottom of the apple (it doesn’t have to be all the way through).
- With your last stick, tie the string around it, then push the string through the core of the apple to the top.
- You can now hang your apple from a tree using the string!
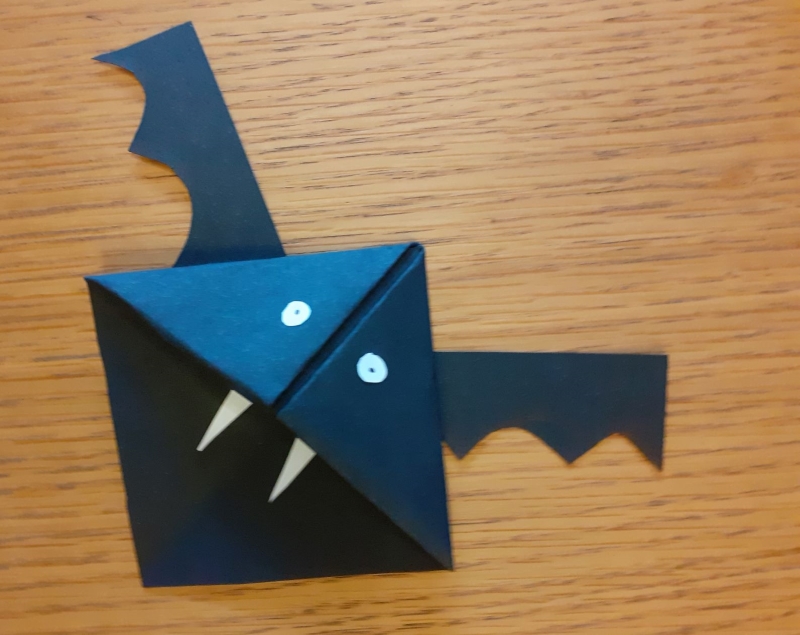
Make your own spooky bat bookmarks
These cute little bookmarks can be slotted onto the corner of a page for your own DIY bookmark!
You will need: black origami paper, normal black paper, white paper, scissors, glue stick, pencil, googly eye stickers (optional).
Instructions:
- Fold the origami paper diagonally on both sides.
- Fold into a triangle (with black side on the outside).
- Fold the top of the triangle towards the centre of the bottom of the triangle and crease well.
- Bring the bottom left corner in and fold towards the bottom centre of the triangle.
- Do the same with the right corner.
- Unfold both corners.
- Bring the bottom left corner in and fold towards the top of the triangle.
- Do the same with the right corner.
- Tuck in the flaps of each corner into their pockets.
- Stick, or draw, some googly eyes onto the bat bookmark.
- Cut out two wings from some black craft paper, and two white fangs, and use a Pritt stick to stick these onto your bat.
- You now have your very own bat corner bookmark!
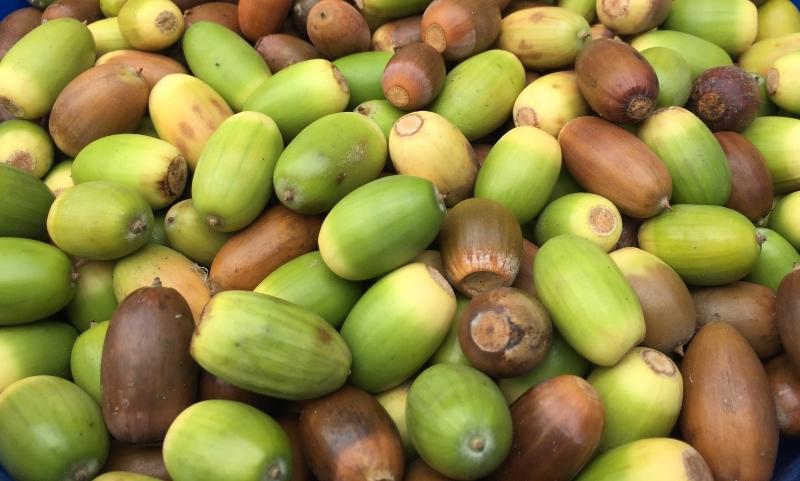
Collect some acorns and grow your own oak tree
Collect a handful of acorns and see how many different coloured ones you can find. The wonderful thing about acorns is that each one is so different – some entirely brown, some all green, some with banding. Each one of these acorns has the potential to become a giant oak tree of the forest!
You could also choose a couple of your acorns to pot up with some soil and grow your very own oak tree.
Instructions:
- Fill a small plant pot (make sure there are drainage holes) with peat-free compost and plant two acorns.
- Water the pot and place it outside. You may need to cover it with some mesh to protect it from predators.
- Leave it to grow!
- Once the roots start to emerge from the drainage holes you will need to re-pot it in a bigger pot.
- After 1-2 years, once your oak tree reaches around 200mm high, it is ready to be planted. Make sure to choose a suitable place and remember that it could grow to be 45m high!
Make an autumnal leaf wreath
While the leaves are in their beautiful autumn colours, why not get out and collect a few different varieties and colours to make an autumnal wreath? You could also add in some pine cones and conkers if you like – but you might need stronger glue!
You will need: a wreath base, PVA glue, some autumnal leaves, ribbon, conkers and pine cones (optional).
Instructions:
- Once you’ve collected a couple of handfuls of leaves, you will need to press them as soon as you get home and leave them to dry, ideally for about 10 days. You can do this by putting them inside some kitchen roll inside a very heavy book and stacking more books on top.
- Once the leaves are pressed, lay them out on top of your wreath base in the positions that you want.
- Use the PVA glue to glue the leaves to the wreath base. Weight them down with coins to keep the pressure between the glue and the base.
- Do this for all the leaves, then tie the ribbon or string to the top of the wreath.
- Hang it in a window where the sun can shine through the leaves to get a lovely autumnal feel.